 |
 |
|
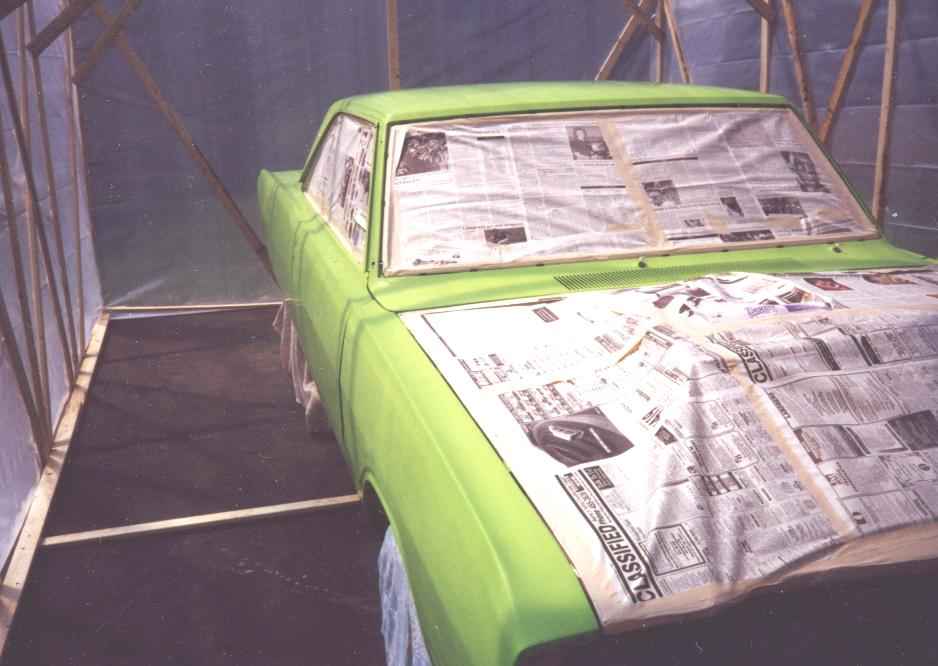
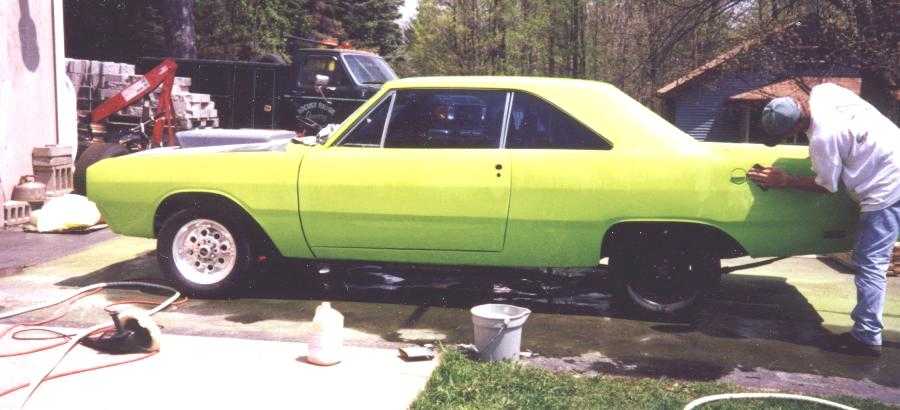
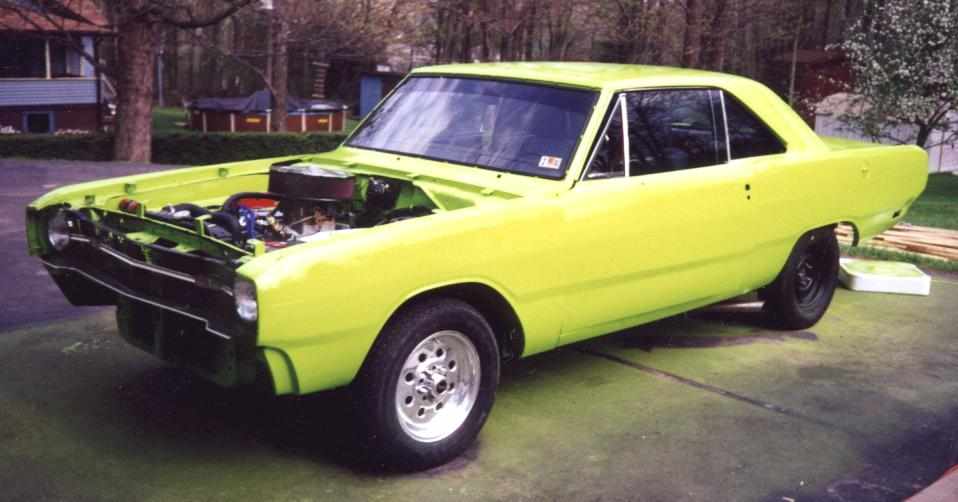
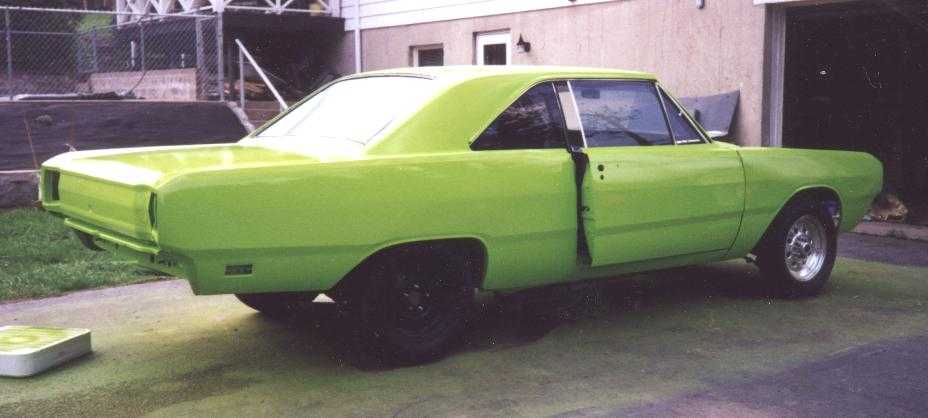
When I picked up my car from the paint shop, The owner told me how he got the wrong color, and after half of one coat, he realized it and remixed the paint to match by eye. Remember, I already had the engine comp., trunk, and door jambs painted. Well, in the booth, it was pretty close, so I didnt get real upset by this, and accepted the car. After all, it wasn't an OEM resto, just a nice redone car...nobody would notice the difference in the door jambs. After the bare shell was delivered home on a roll-back, I began the tedious reassembly process. Weatherstripping, interior, glass, engine, bumpers... wait...what's this? Paint shop missed the bottom of the fenders... Ohhh, AND the rockers, AND the quarters. At this point, I was a little annoyed that such an easy paint job could be screwed up. But, since the body was all the same color, I went back to the shop, told them what happened, and said I'd settle for a gallon of the color he mixed. SIX weeks and many visits later, I finally was given a QUART of the proper color. Ok, I just wanted this to be over, so I took my quart of paint and left. About two weeks later, and now we're into january, I got the car ready to spray in my garage. I spent an evening spraying - fender bottoms, rockers, and bottom of the quarters. At 1am I was happy with the results. The next week, we had a warm spell, so I pulled the car outside for buffing. This is when I noticed how extremely dark the paint was that I got. Well, I thought a good buffing would blend things together fairly well, and maybe next year I could repaint it. However, once I started, the pad went right through to primer, even on flat panels....RUINED. Apparently, even 3 coats was too much for them to spray. One coat was all the car had on it, and the wrong color at that. At this point, the car looked like a circus wagon as far as I was concerned, and a total repaint was needed before I could let anyone see it. This was the last time I'd ever trust anyone else with my stuff... |
|
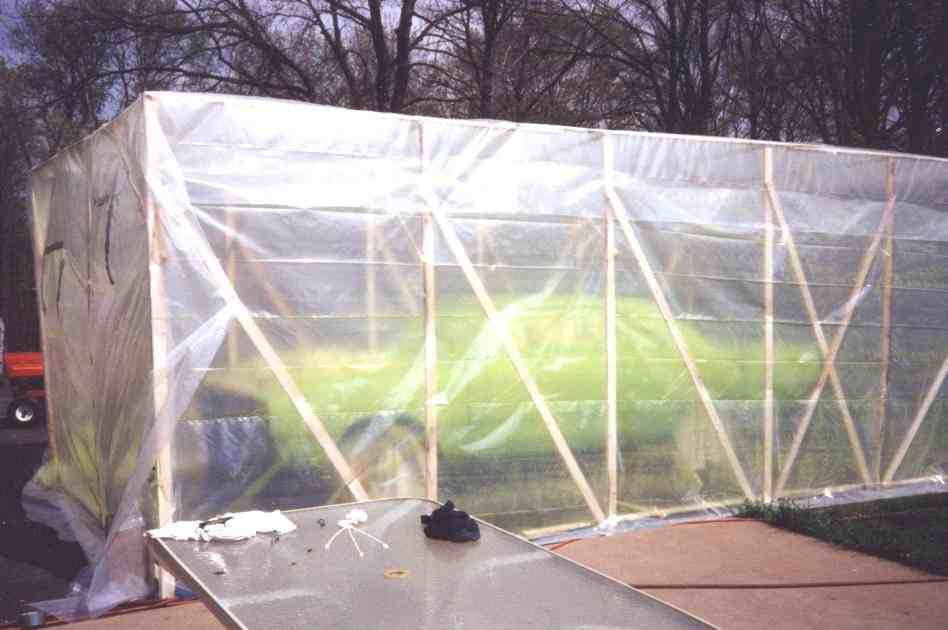
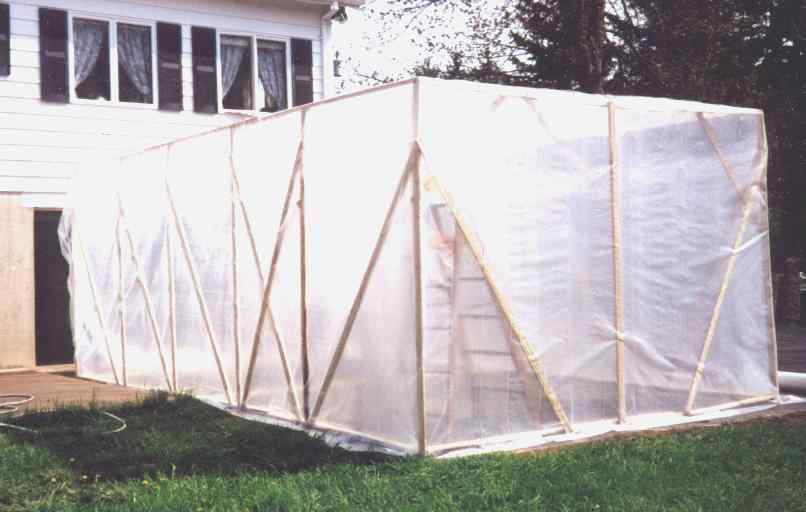
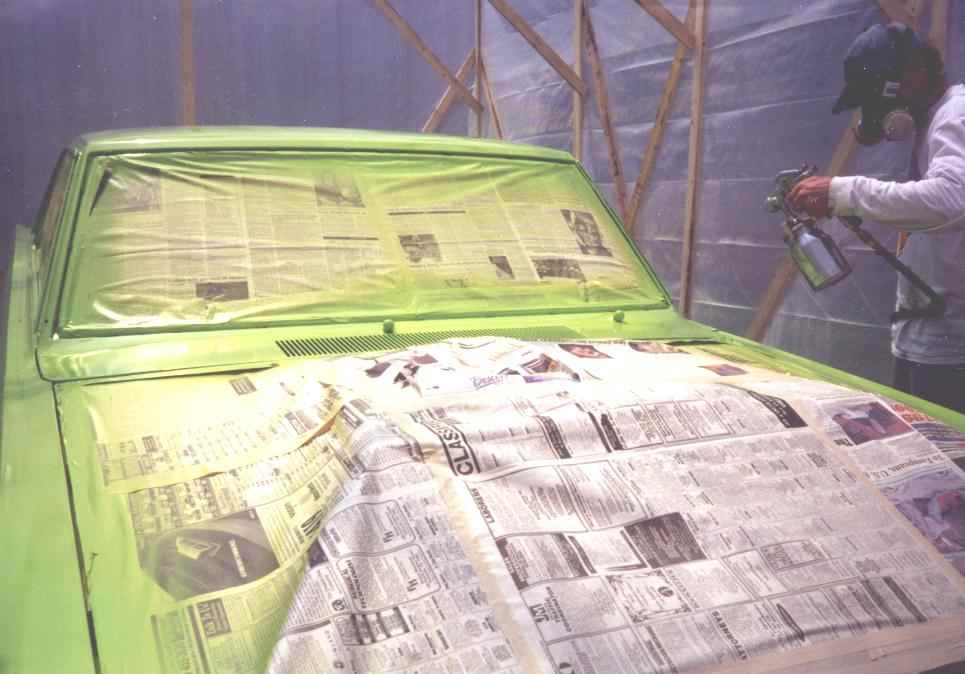
The next problem was a place to paint...I knew the neighbors would not be happy with lime green houses. Off to the lumber yard I went. I picked up 68 1x3 firring strips and a 40'x100' roll of plastic. Then it was off to Walmart for two cheapo 20" fans. Total cost was of all this stuff around $94. |
|
|
|
|
Seriously, it went up pretty quick. If you do this, remember to give yourself at least 3 feet of space around the entire car. |
 |
|
|
|
 |
 |
|
|
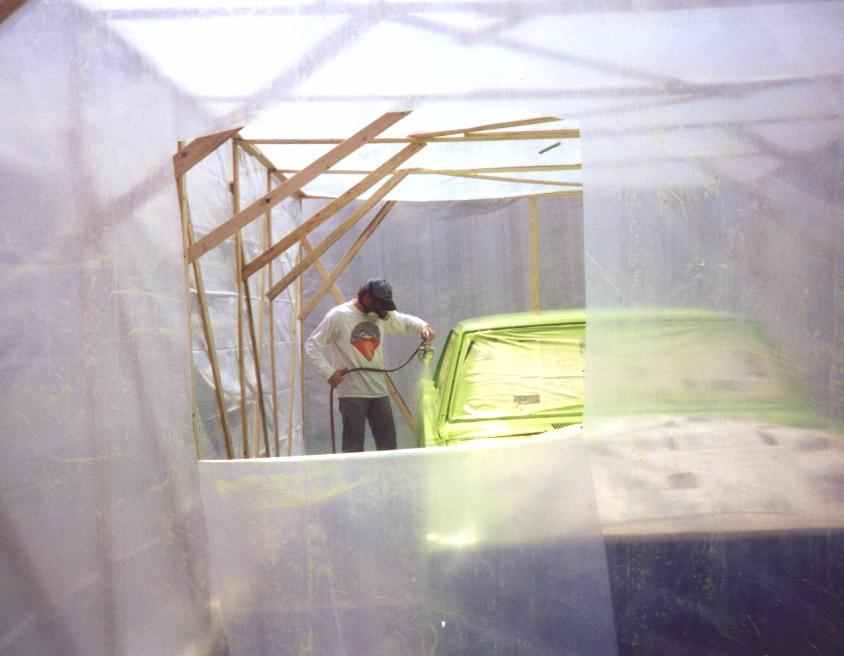 |
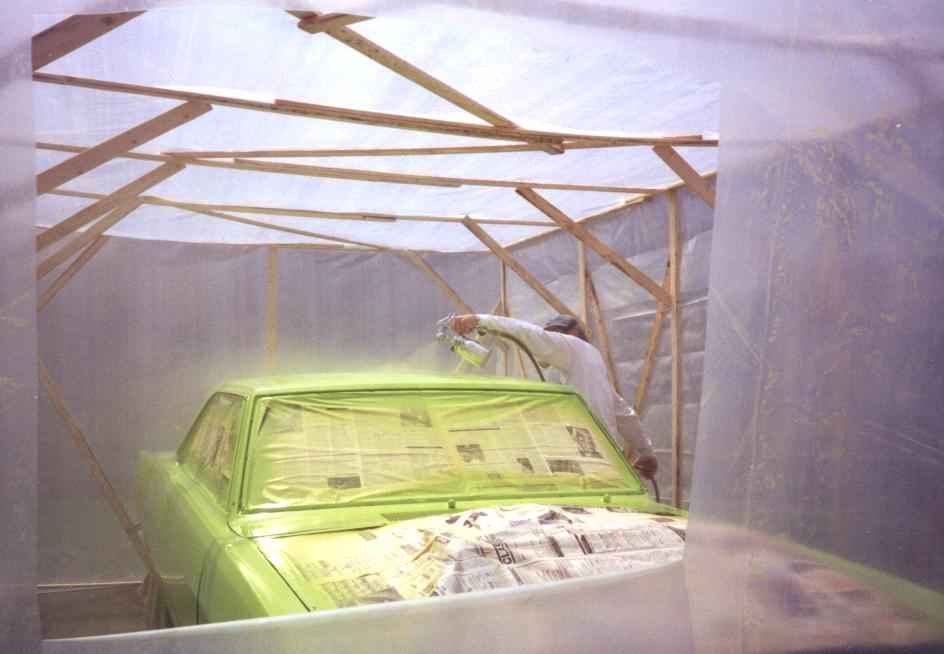
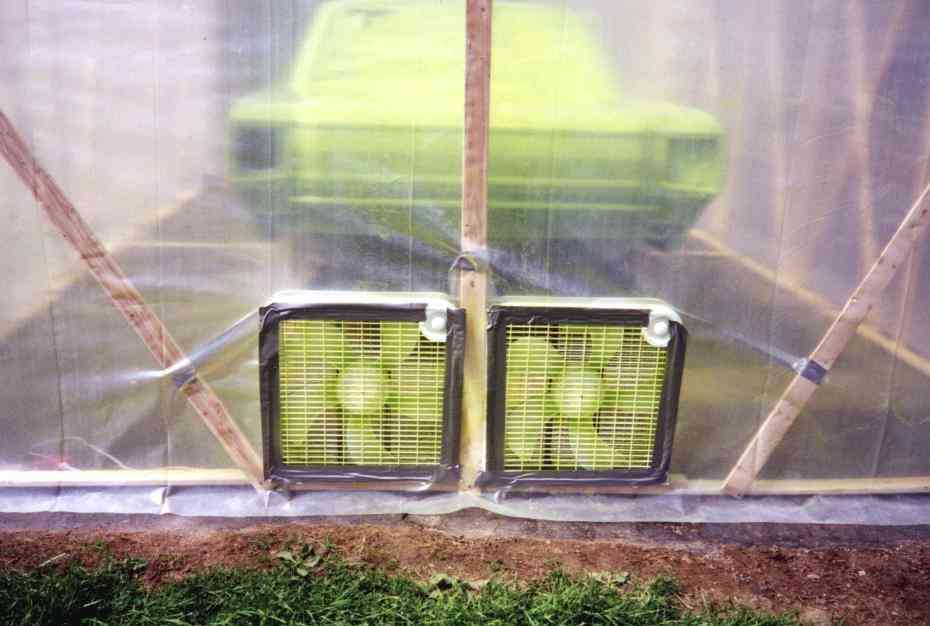
With two holes cut in one end, and the fans running at the other, there was a nice breeze moving across the car..enough to get rid of overspray, but not too much to pull in the bugs:) |
|
|
 |
|
|
 |
 |
|
I hope you enjoyed reading about my nightmare, and perhaps it'll save you some aggravation with your own ride. ALWAYS ALWAYS ALWAYS RESEARCH YOUR BODYSHOP!!! Any questions are welcome. |
|
|
|
|